Use SurvCE/PC to Configure SIM in GNSS Receiver
You must have your RTK Mobile SIM card installed in your receiver. Your GNSS receiver ideally would be outside and have access to the sky. Turn on your GNSS receiver and wait until it beeps. The battery light should be green.
Special instructions for the BRx7
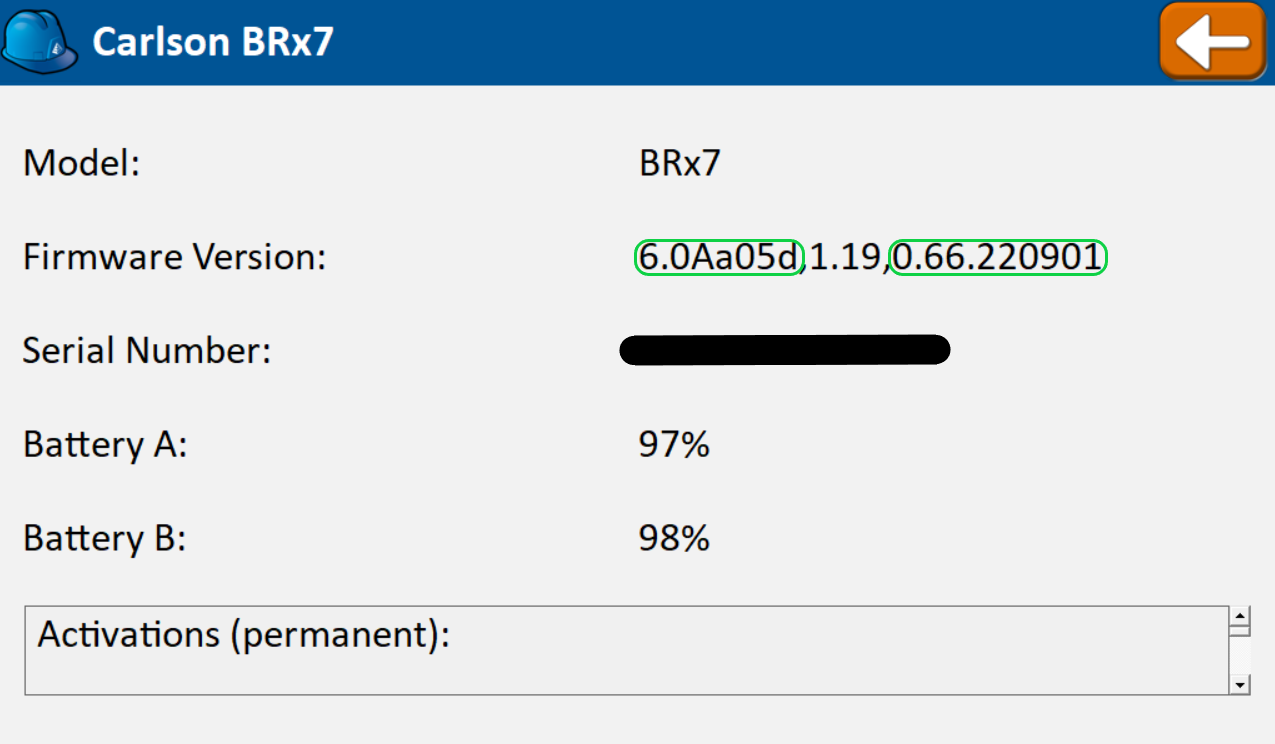
In SurvCE/PC, go to the Equip | GNSS Rover tab and select your GNSS receiver. In the Comms tab establish communication with the GNSS receiver. Click on Current tab and tap the “i” icon to make sure that the firmware is at least at 0.66.22041
If the BRx7 is new or has never used a SIM card, it is required that you do a factory reset using SurvCE/PC. In the Equip tab select GPS Utilities then the “Reset Factory Defaults” button. Wait five minutes or when you’ve heard three beeps from the BRx7 and then follow the instructions below to set the APN to flolive.net.
To install the latest firmware go to the BRx7 firmware update page and download both WebUI and GNSS files and follow the instructions from Carlson’s firmware upgrade guide.
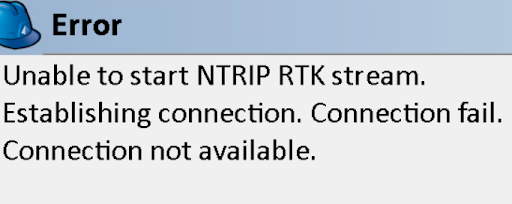
If you don’t have a later version, you may need to use the IP address when using an NTRIP server and other RTK servers instead of using a domain name. You can look up the IP address for a domain name that a RTK server might use by using this tool. For example entering ntrip.carlsonsw.com as the host name results in the IP address 159.203.128.208. This is the error that you might see if you need to look up the IP address of your NTRIP server and use it instead:
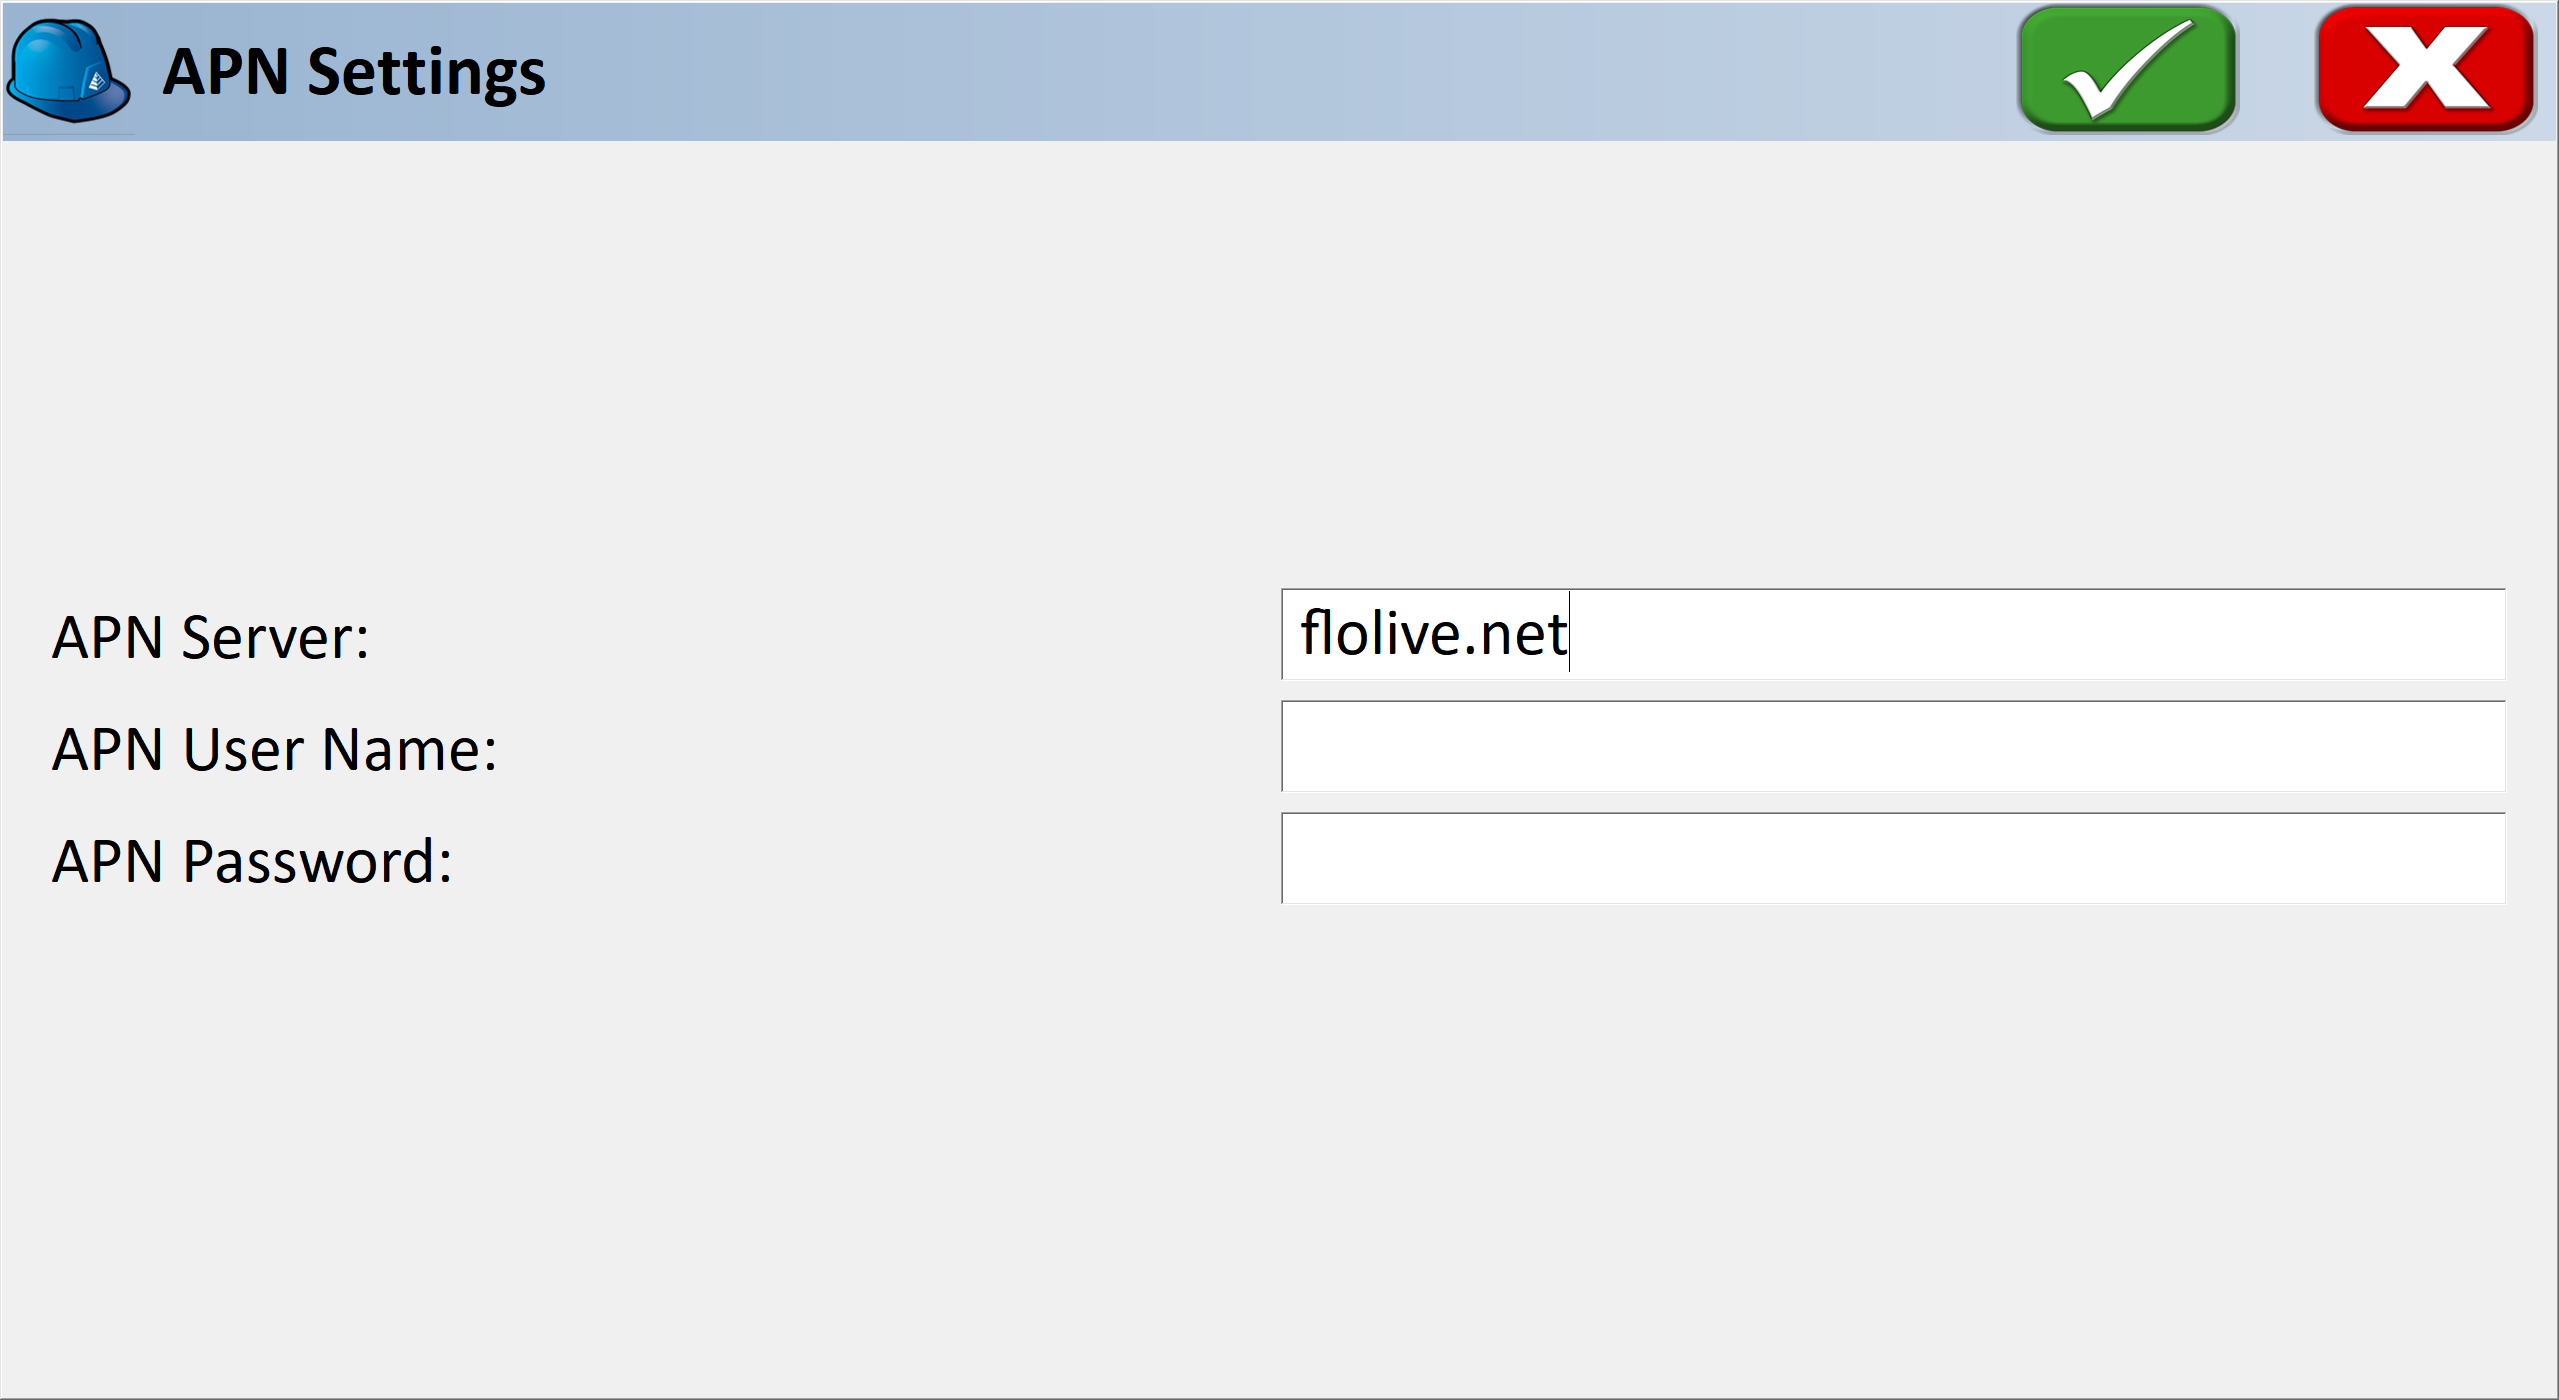
Set APN to flolive.net
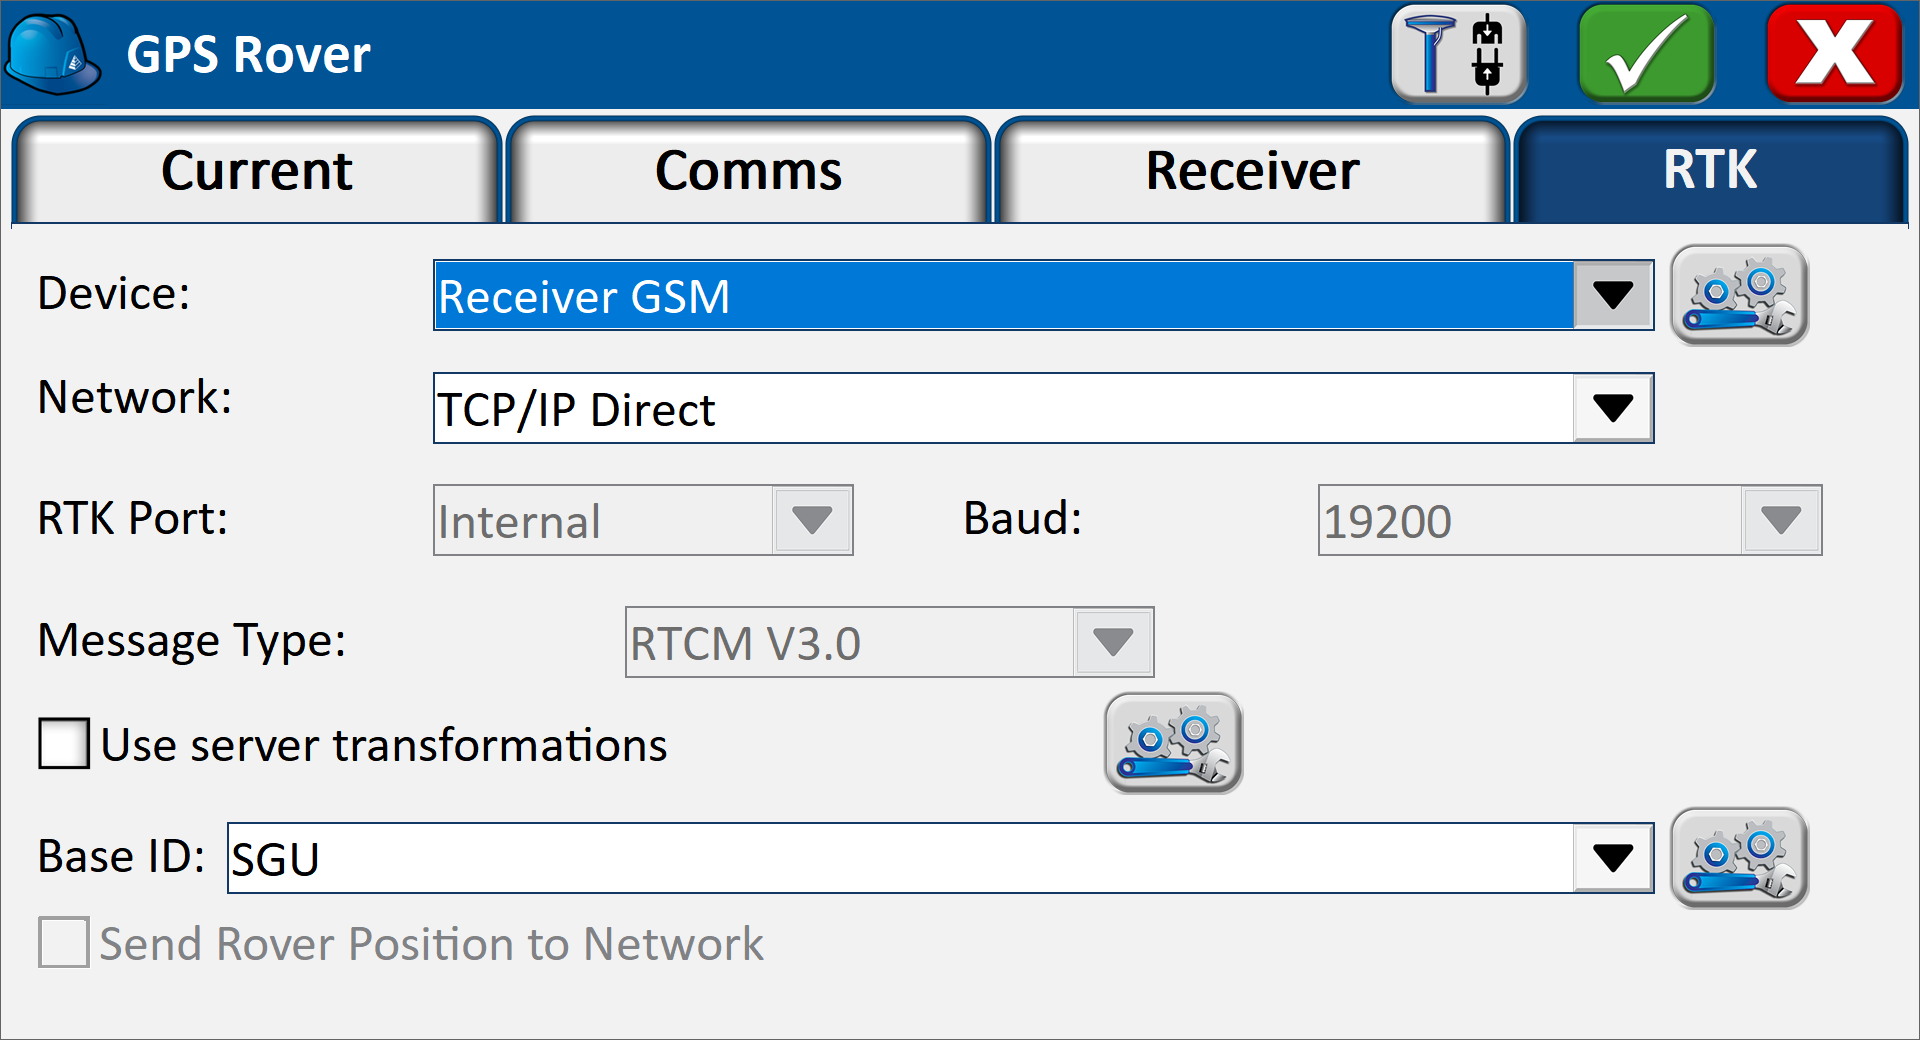
Now go to the RTK tab and select “Receiver GSM” or “Internal GSM” as the current device as shown below.
Select the wrench icon on the Device line to open the configure dialog. Select “User” or “RTK Mobile” as the current Provider.
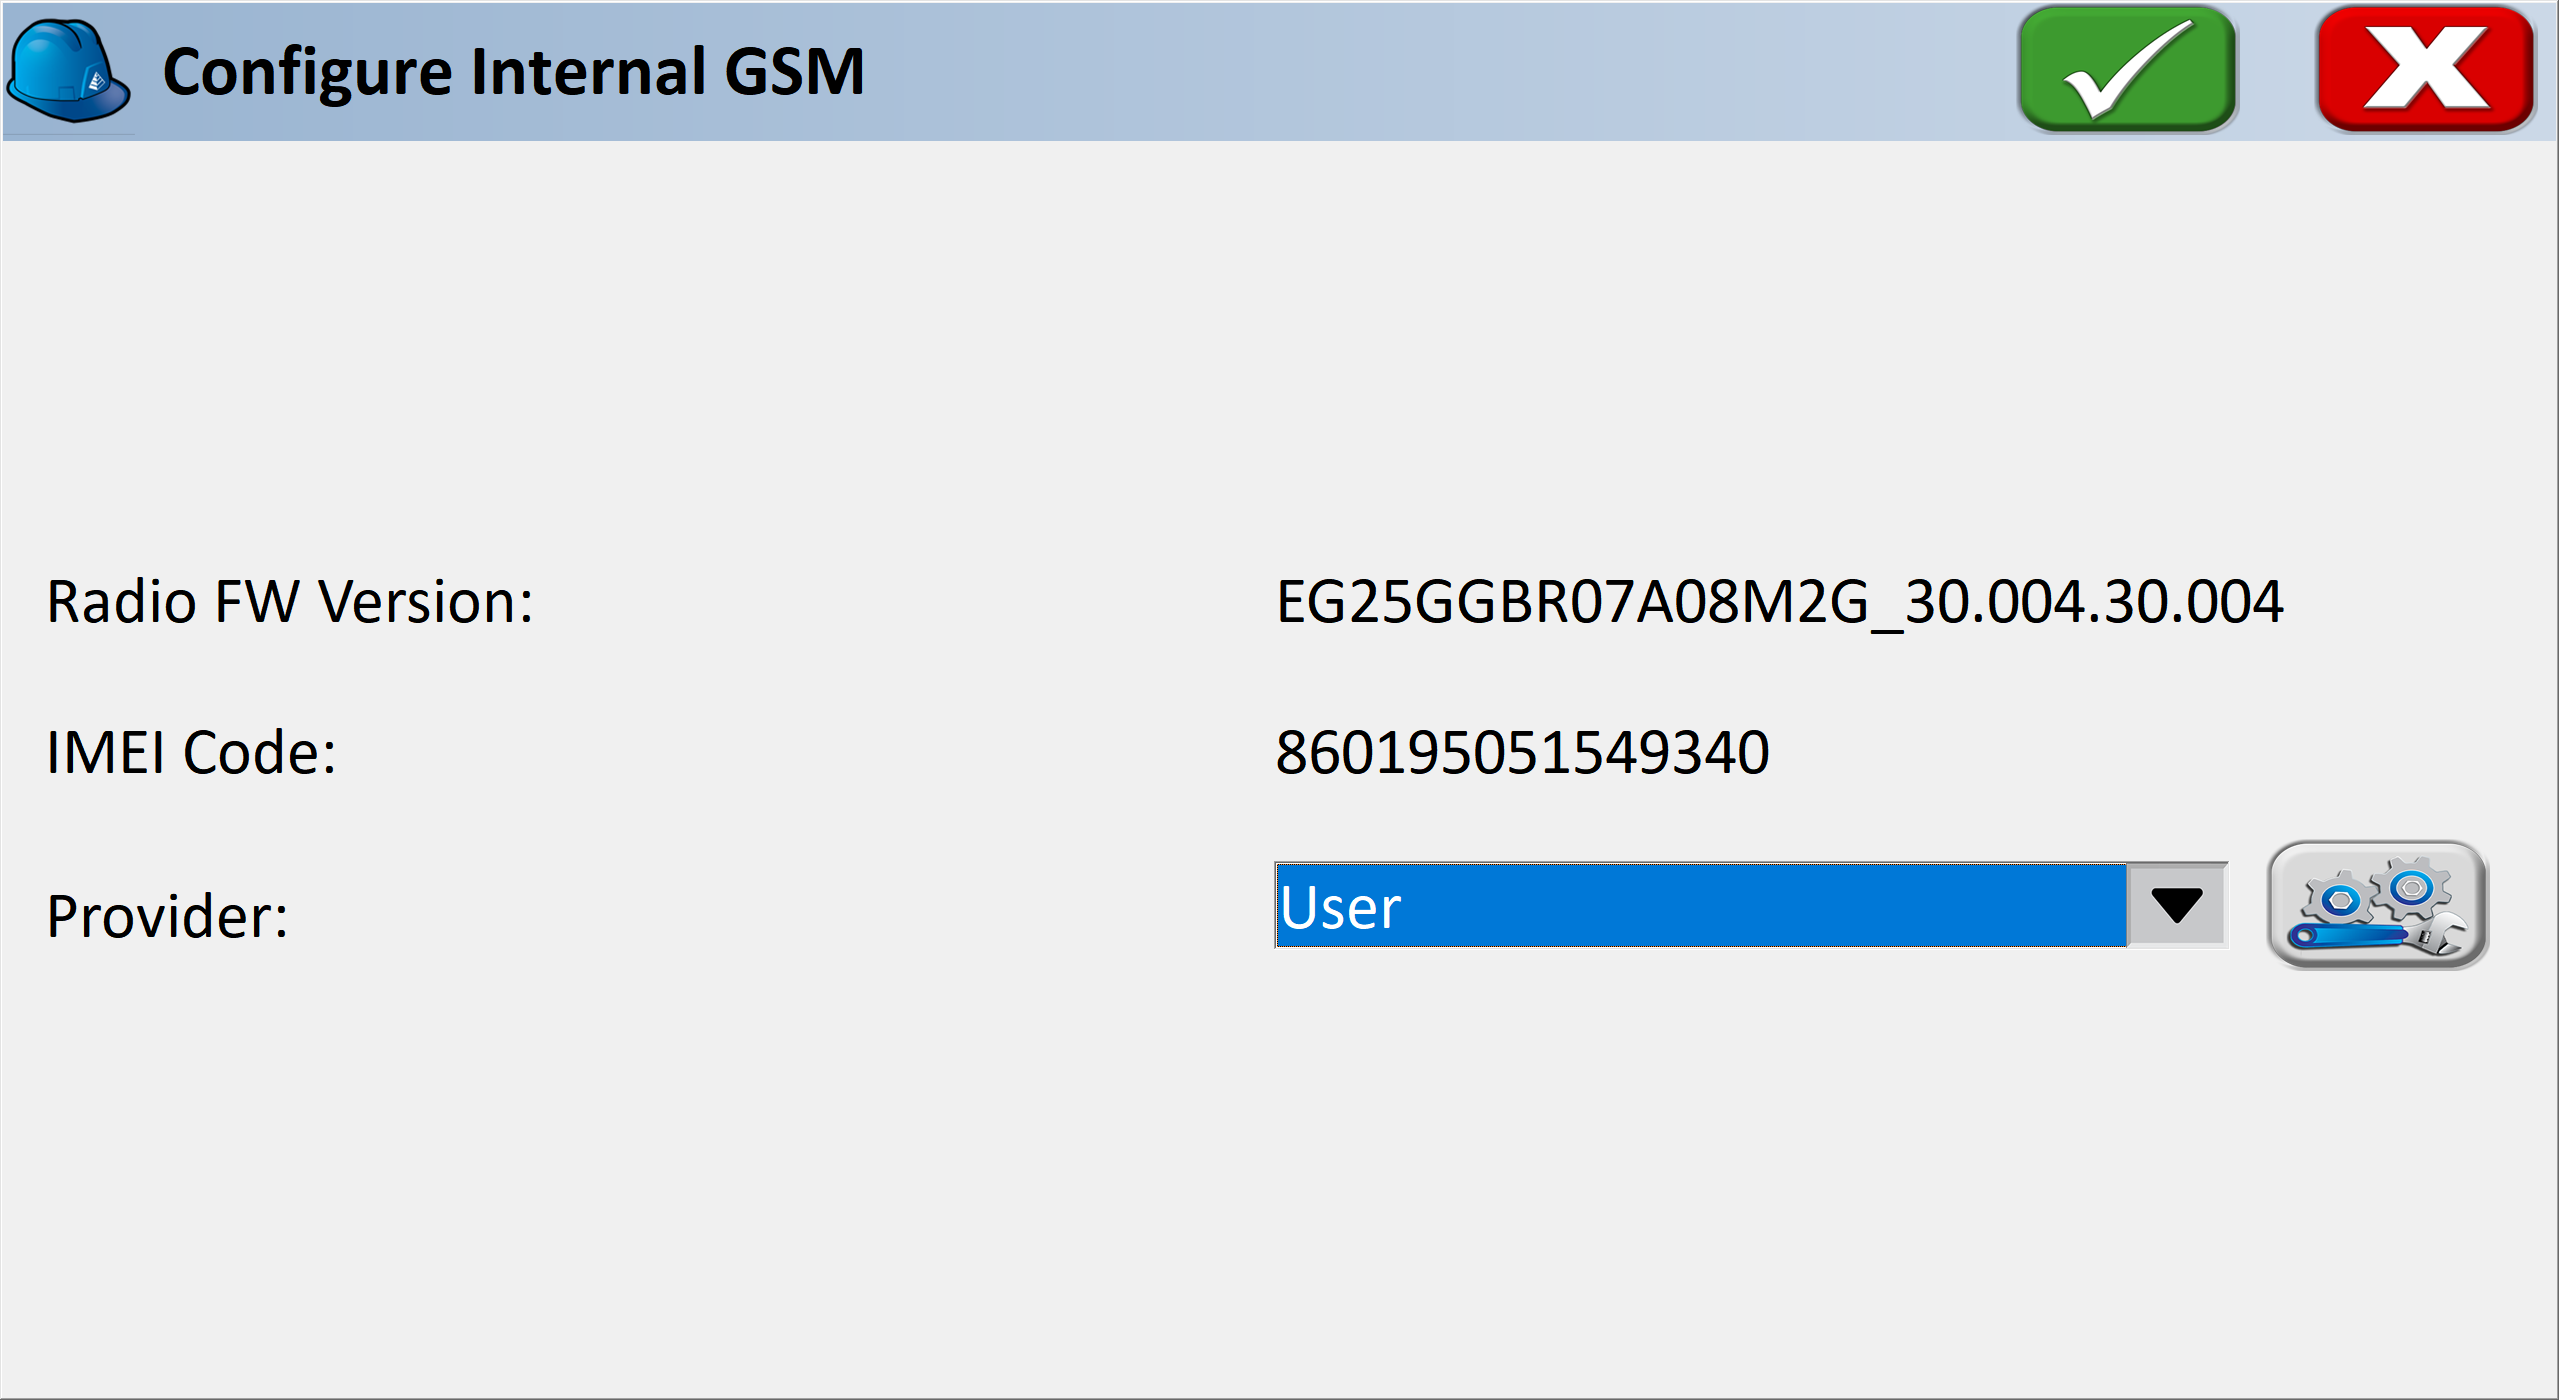
Select the wrench icon and enter flolive.net on the APN Server line. Leave the username and password blank. Tap the green check button to return the RTK tab.
Test Connection to the Internet
To test that your Viking or BRx7 has access to the internet, as an example, we will use a free TCP/IP Direct connection in Utah. This eliminates potential problems with accounts and passwords. Even though your rover is very far away from this base and you won’t get a Fixed position, you will be able to verify that the BRx7 is receiving corrections. After following this example, you will need to return to the RTK tab to enter the information for your NTRIP server, Listen-Listen or other RTK data source.
Select the Network type as TCP/IP Direct:
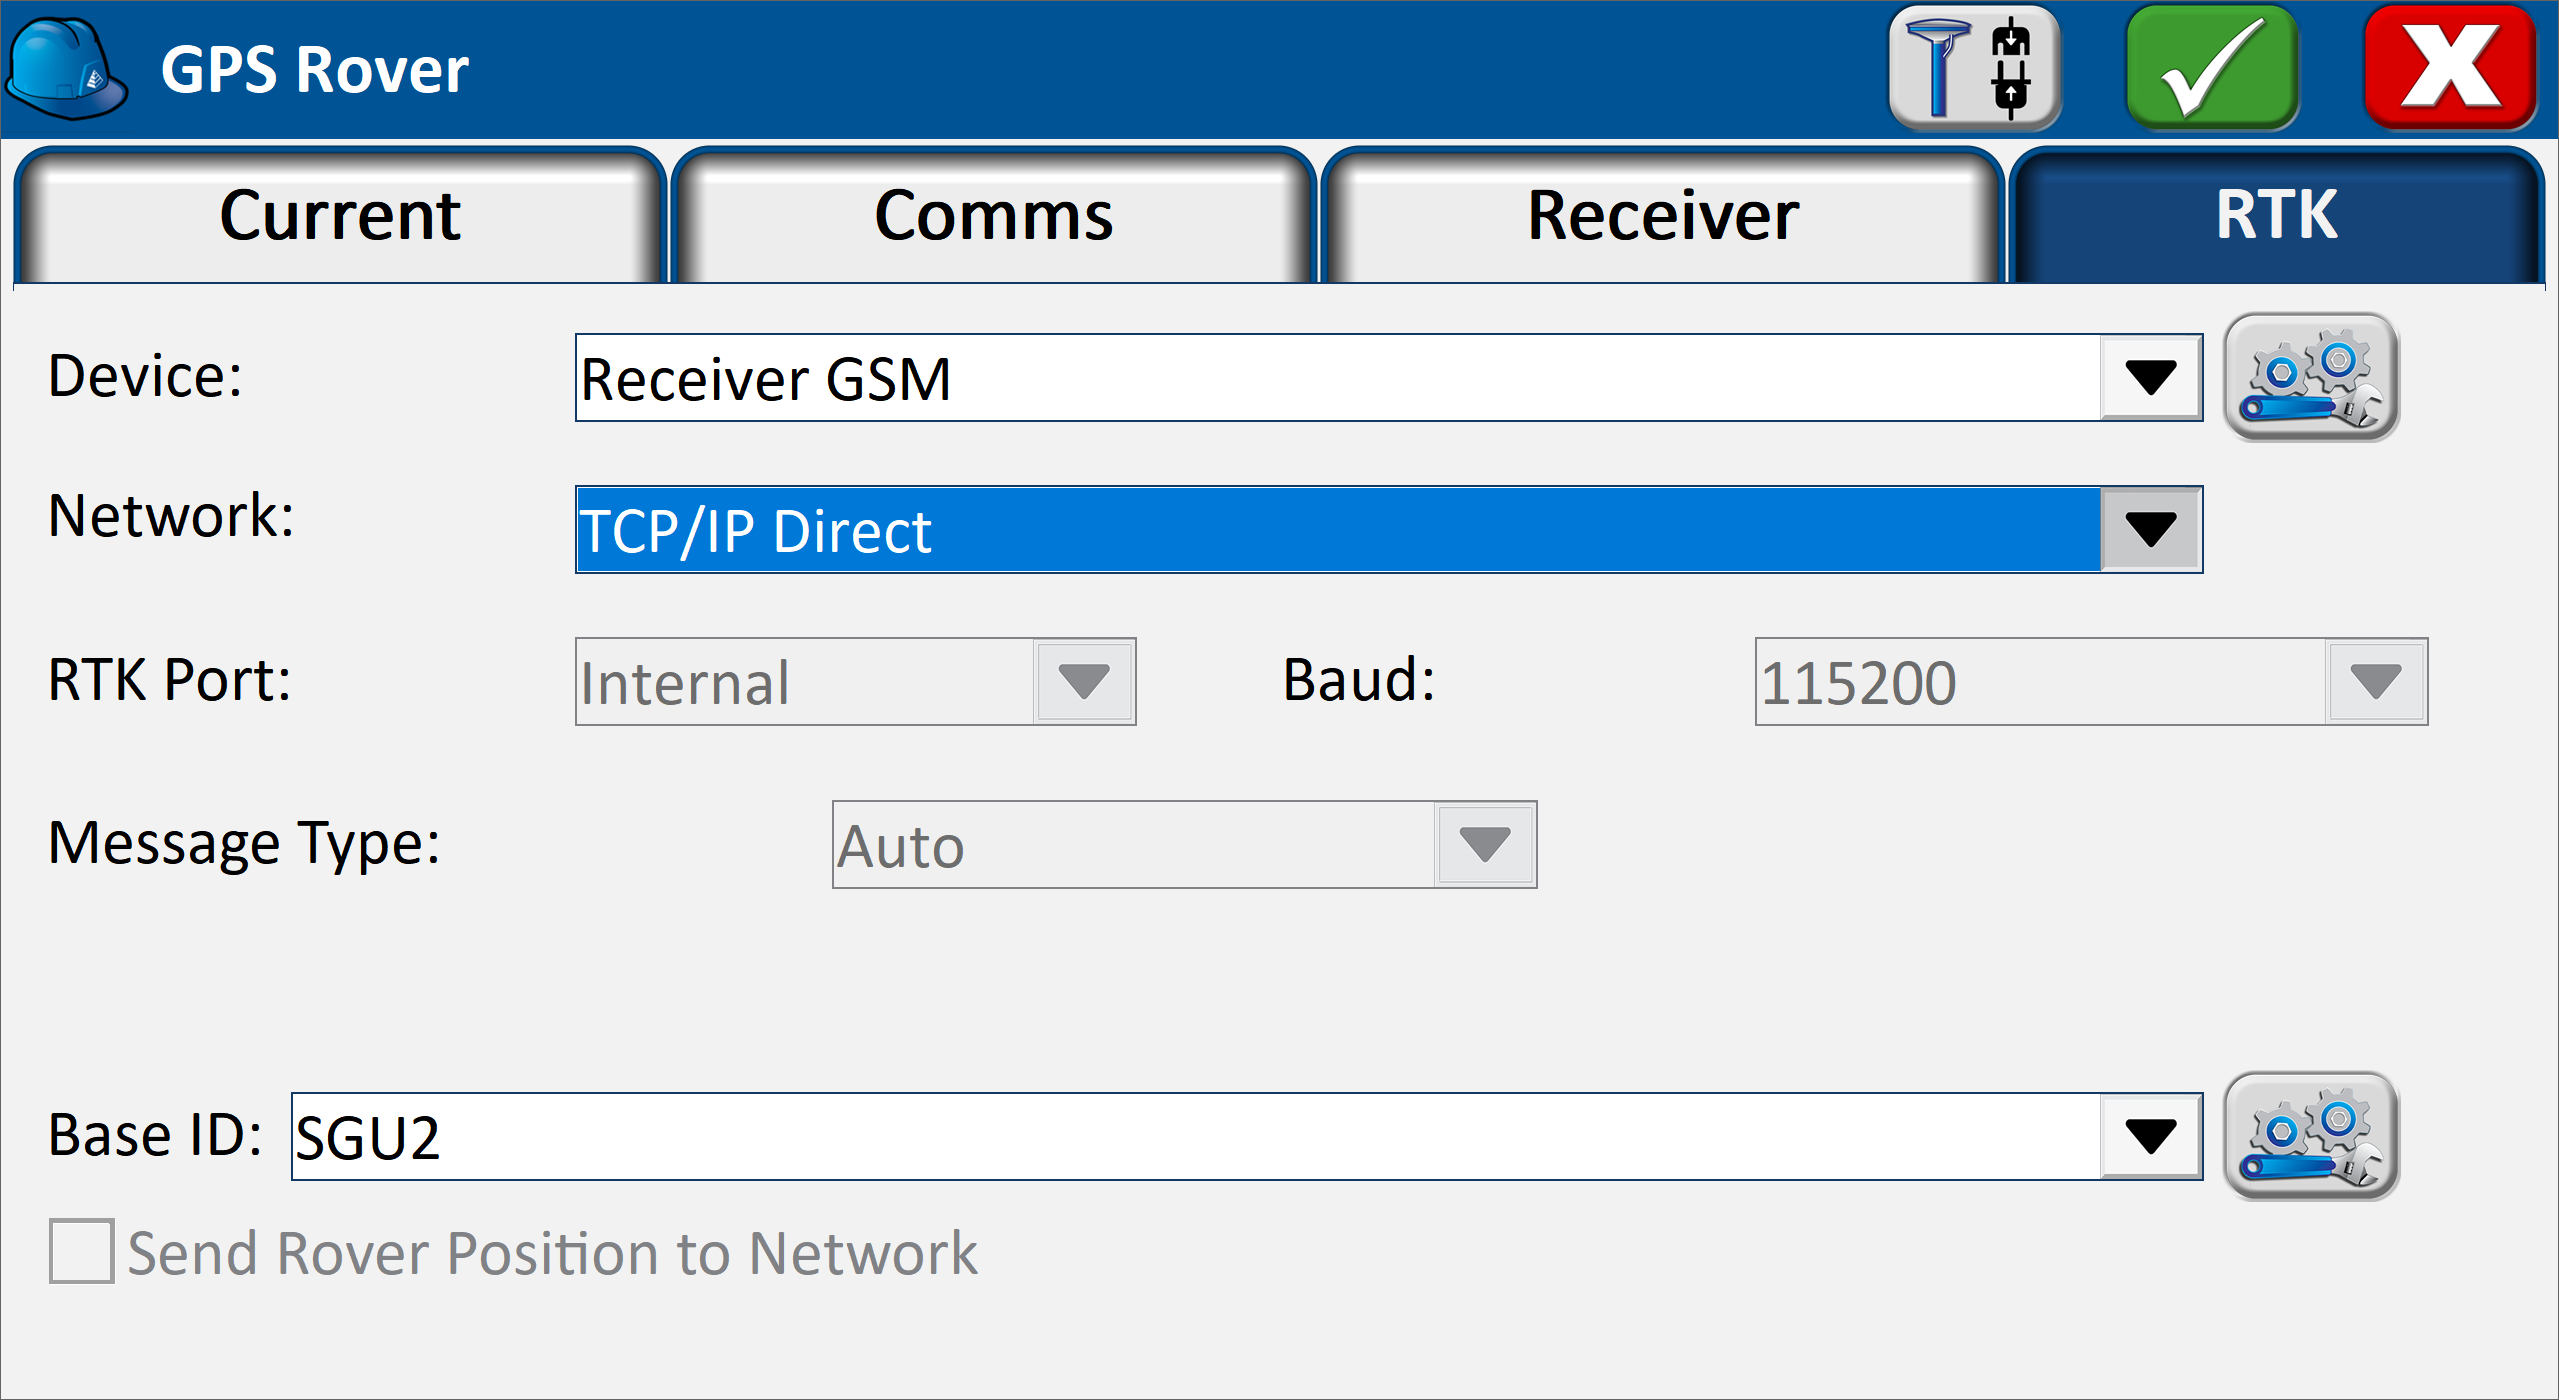
Click on the Wrench icon on the Base ID line to enter the following settings:

Tap green check in the GPS Rover dialog to start communications with the modem. An error message within 20 seconds usually means the SIM card has not been detected. An error message that takes longer, up to 2 minutes or more may be an indication that the APN is incorrect, the SIM is not active, or the receiver needs to be turned off and back on and these steps repeated. More troubleshooting tips are available here.
When the BRx7 starts getting corrections, you will see the modem icon blinking green.
You can also verify corrections by going to the Equip | Monitor/Skyplot dialog. If you are using the SGU2 example, the base is in St George Utah so it will be too far away to be Fixed but if you have the BRx7 outside you will see the RTK latency change from N/A to 1 or 2 seconds when it is able to get a DGPS or Float position. Congratulations, your new SIM is working!
Now go back to the RTK tab to enter the information for your NTRIP server, Listen-Listen or other RTK data source. SGU2 is just an example to prove the Viking or BRx7 is connecting to the internet.